
Whether it’s to replace a worn pickguard, repair damage underneath, or simply change the instrument’s look, removing the pickguard is a process most guitarists go through at some point. The process can range from straightforward to challenging, depending on the guitar’s construction and the pickguard’s attachment method.
Pickguards are typically attached to the guitar body with adhesive, screws, or a combination of both. On some models, like many electric guitars, switching out the pickguard is easy to do at home with a few essential tools. However, it requires more care on acoustic guitars or other instruments where the pickguard is glued directly to the top. It is crucial to approach this job gently to avoid damaging the guitar’s finish or wood.
Understanding your guitar’s construction and the potential risks of removing the pickguard will ensure you make an informed decision. If the pickguard is tightly glued or has a risk of cracking the wood, seeking professional help might be the best course of action to preserve your instrument’s integrity.
Remember, while customization can be satisfying, it’s important to weigh the value of the modification against the character and condition of your guitar. So, read on to learn more about the process and have some tips on how to do it!
Understanding the Guitar Pickguard
Function of the Pickguard
The pickguard, primarily, shields the guitar’s body from wear and tear brought about by constant strumming or picking. This is especially vital for maintaining the aesthetic and structural integrity of the guitar’s top, which can be susceptible to scratches and dents.
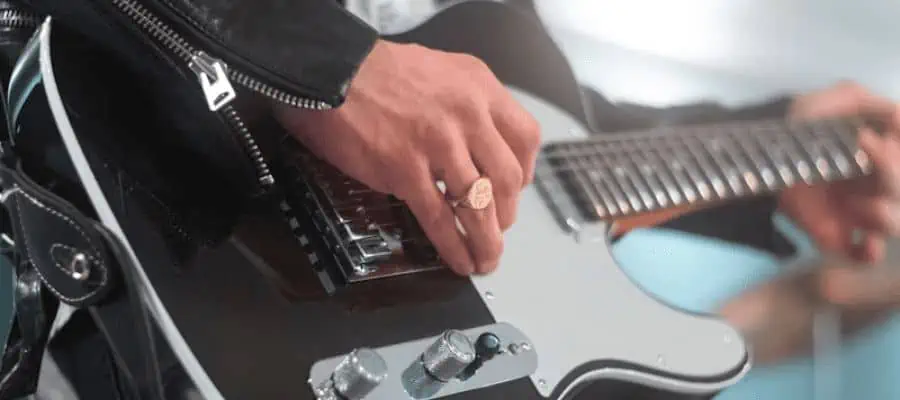
On electric guitars, they also serve as a platform for mounting volume-tone controls and pickups.
- Protection: Guards against surface damage during playing.
- Mounting Electronics: Provides a base for volume controls and pickups on electric models.
Types of Pickguards
Pickguards are not one-size-fits-all; they vary significantly to complement different guitar models and player preferences. Stratocasters, Telecasters, SGs, Les Pauls, and other industry-standard models all have different pickguards with different designs.
- Standard Pickguards: These are commonly found on acoustic and electric guitars, tailored to their body shapes.
- Custom Pickguards: Created for personalized modifications or to suit unique guitar styles.
Pickguard Materials
Pickguards are crafted from a range of materials, each influencing the guitar’s look and possibly its sound.
- Plastic: Lightweight and the most common, available in various colors and patterns.
- Metal: Durable, often used for a distinctive appearance or tonal impact.
Removing the Pickguard

Removing the pickguard from your guitar is a task that can refresh its look or allow you to perform repairs and maintenance. With the right tools and a careful approach, you can safely remove the pickguard without damaging your instrument. This section will guide you through the essential tools you’ll need, the step-by-step process of removal, and the potential risks and considerations to keep in mind.
Essential Tools and Materials
Before you begin the removal process, gather the following items:
- Heat source or screwdriver: A hairdryer or heat gun to soften the adhesive. If the pickguard is attached to the body with screws, then you only need a screwdriver.
- Thin spatula or putty knife: To gently pry the pickguard away from the body.
- Adhesive cleaner, Such as Goo-Gone, to remove any residue.
- Soft cloth: For cleaning the guitar without scratching it.
Step-by-Step Removal Process
Pickguards Attached With Adhesive
- Heat the Pickguard or Loosen the Screws: Apply heat evenly around the edges of the pickguard with your heat source to loosen the adhesive. Keep the heat moving to avoid overheating any spot.
- Lifting the Edge: Use the thin spatula to lift the edge of the pickguard gently. Start at a corner and proceed with caution.
- Peeling Away: Slowly peel the pickguard away from the body, applying heat as needed to address spots with strong adhesive resistance.
Pickguards Attached With Screws
- Remove the Strings: First, remove the strings from the instrument to begin the process.
- Loosen the Screws: Use a screwdriver to loosen all the screws on the pickguard.
- Take the Pickguard Out: Gently lift it and remove it from the body.
Potential Risks and Considerations
- Finish Damage: The heat and removal process may cause damage to your guitar’s finish if not done carefully.
- Cracking: Excessive force or haste can crack the pickguard or damage the wood of the guitar.
- Adhesive Residue: The remaining adhesive residue can be stubborn and require careful cleaning to avoid finish damage.
Remember to proceed with patience and attention to detail to ensure a successful removal of your guitar’s pickguard.
Conclusion
In conclusion, removing the pickguard from your guitar—be it electric or acoustic—is indeed doable. With the right tools and gentle precision, you can successfully take off the pickguard without harming the guitar’s finish.
It’s essential to go slow and follow the correct procedures, whether using heat for a glued pickguard or a screwdriver for a bolt-on pickguard. Remember that all guitars are different, and what works for one may not suit another. Your guitar’s appearance and functionality are in your hands, so treat it with care and consideration during this process. If unsure, consult with a professional luthier to prevent potential damage.
If you found this article useful, you may want to save this pin below to your Guitar board.

Recent Posts
When learning new songs have you noticed that some of the chord sequences sound really good? But when you tried to come up with your own chord sequence, or as we call it chord progression, you found...
Some guitarists insist on buying an expensive amplifier with their electric guitar. They assume that this is a must for every type of guitarist out there. However, in some situations, this isn’t...