
Technology has evolved to a point where creating a great sounding track is at the hands of anyone who has a computer, some recording software (known as a DAW), and a recording device such as a portable audio interface.
However, back in the day, these elements did not exist, and to create a great-sounding song, you would need a professional studio where you would use quality microphones to record instruments.
So, the question arises for the modern musician: Why do you mic a guitar amp? How do you do it to get the best sound?
You mic a guitar amp to be able to capture the essence of the guitar player’s feel, the sound of the room where it is recorded and finally, to capture the fullness of the sound a guitar amp will provide. To get the best sound possible, it is important to have the right microphone, know its right placement, and use the right recording technique.
Why Do You Mic A Guitar Amp?
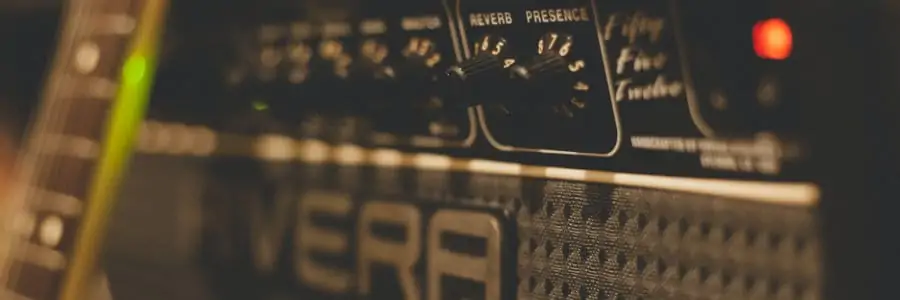
In the “Golden Days” of rock music, engineers and guitar players would spend hours dialing the right amp settings, getting the right microphones, and placing them in many different positions. All of this was done to capture that unique sound that would enhance the song being produced.
It is very important to understand that there is no one right way to do this and the important thing to take away from this, is that a guitar’s sound has to serve the song and not the other way around.
Another important aspect of why you would mic an amp is because microphones are designed to capture frequencies from all over the spectrum.
If you want to learn more on how guitar amps work you can check out my post How Do Guitar Amps Work? Simply Explained, Easy To Get
An untampered human ear can perceive frequencies from 20hz to 20,000hz (or 20k) Good quality microphones can capture the main frequencies a guitar has all of its overtones, giving you the richest possible sound your guitar can create.
In addition, we have live performances. Micing amplifiers in live situations allow the sound engineer to have more control over the balance of the instruments being played.
In live scenarios where the instruments are mic’d, they are sent to a set of speakers which will be the main output source for the audience. This holds specifically true in big arenas and stadiums, where it would be impossible to just crank the amp up.
Let’s look into the different parameters you need to understand to truly reach the full potential of recording your guitar.
Types Of Microphones Used To Record A Guitar Amp
Dynamic Microphones
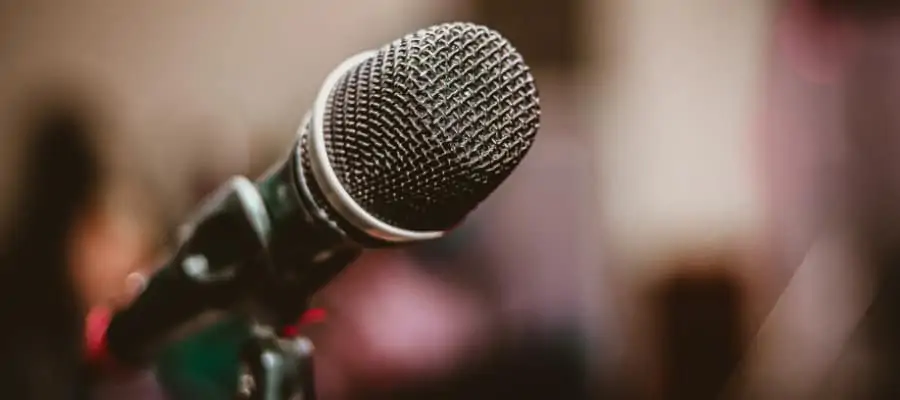
The first thing to understand about dynamic microphones is that they are not sensitive to sound, making them ideal for loud sources such as snare drums, toms, and guitar/bass pedals.
They are also quite resistant and can handle bumps and bruises along the way. They are usually the cheapest as well, so that is a plus.
An important thing to understand about microphones is their polar pattern. A microphone’s polar pattern dictates how a microphone will capture sound and from which directions it will reject sound. Dynamic microphones have a unidirectional polar pattern (also known as cardioid).
This means a dynamic microphone will only capture the sound that it is pointed two and will reject everything else. This makes it an ideal microphone for live performance situations or small home studios where all sorts of unwanted sounds can mess with what you are trying to record.
Out of the three possible microphone types to be used, the dynamic microphones are the most used to record guitar amplifiers.
Condenser Microphones
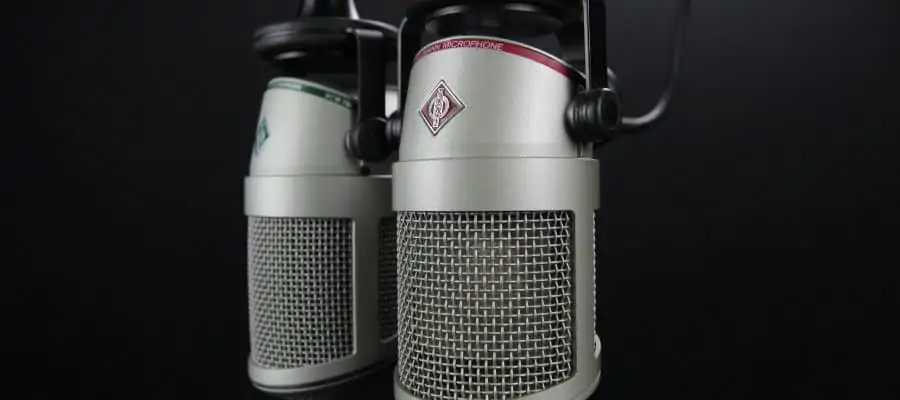
Condenser microphones are more complex than dynamic microphones and more likely to be expensive. This is because condenser microphones can capture clearer frequencies, giving your sound more balanced and sweeter than a dynamic microphone would.
They can be used to record guitar amplifiers but because of their increased sensibility, you would have to be very careful with how loud your source is.
Extreme blows of volume can potentially damage your condenser microphone and trust me, you don’t want that.
Another important thing to know is that condenser microphones have many more polar patterns available. As we mentioned, dynamics are unilateral, which means they capture sound from the front of the capsule.
Condensers also have what is called a Figure-8 polar pattern, which allows you to capture the sound from the front and back of the capsule.
Finally, you have the Omnidirectional polar pattern, which captures the sound from all possible directions. This pattern is ideal to capture the sound of a room.
Ribbon Microphones
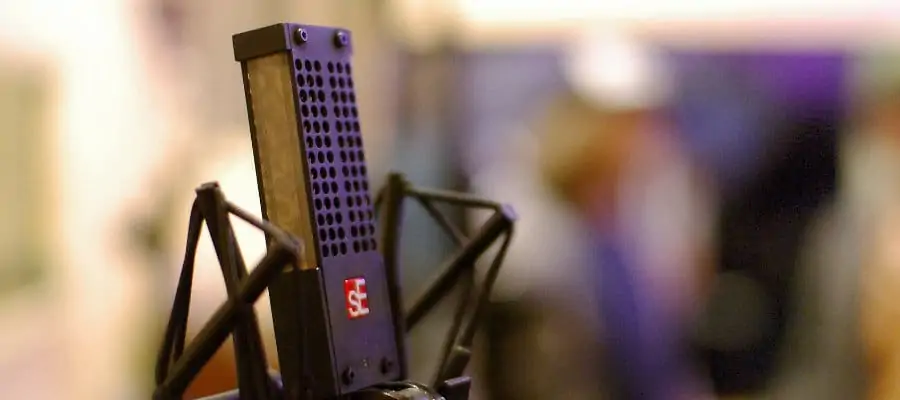
Out of the three microphone possibilities, ribbon microphones are the ones with the greatest ability to give your sound and organic, warm, vintage feel. They are the most sensitive mics around, so it is important to be very careful when using them.
Ribbon mics always have a Figure-8 polar pattern, which is a great way to give you different recording techniques. However, the downside is that a ribbon mic gives you a harder time isolating the source of your sound.
This is less than ideal in a live situation or an untreated room with all sorts of unwanted frequencies.
Having said that, pairing a dynamic microphone with a ribbon microphone is a great way to capture a unique sound out of your amplifier.
How Does Microphone Positioning Affect Your Guitar Amp Tone?
Once you have chosen the microphone you will use, the next step is to find that sweet spot to place it in.
There are three parameters you will need to consider: Distance from the amp, if it is in the center of the amp’s cone vs. the outer rim of the speaker and the microphone’s axis in relation to the amp.
Distance Between Microphone And Amplifier
The more distance you place between the microphone and the amp, the more space your sound will have, and the more you’ll capture the sound of the room.
This is a good idea to capture the feel of a performance in a full-band recording-type of scenario. Bear in mind, the farther away you place it, the more likely you’ll have to transition from a dynamic to a condenser microphone.
Amp’s Cone Vs. Outer Rim Of Speaker
As for where to place the microphone in relation to the amp’s cone, there are 3 zones to the speaker: You have the dust cap (which is the dead center of the speaker), where you will find a lot of high-end frequencies.
You’ll also have the middle point of the cone, where a lot of mid-range can be found. Finally, you’ll have the rim of the cone, where you will also have a lot of high frequencies with a bit less mid-range.
Microphone’s Axis In Relation To Amp
The microphone’s axis in relation to the amp will give your tone either more brightness and clarity or more warmth and darkness. To have a microphone off-axis is to place not place it in a 90-degree angle in front of your speaker, but to have it be pointing in perpendicularly.
The more off-axis, the darker your tone will get and the less grit/aggressiveness your sound will have.
There is no one right place to position your microphone and I recommend you experiment with moving your microphone around to get that sound you are looking for. Here’s a great video as reference:
Top 3 Microphones To Use On A Guitar Amp
There are thousands of great-sounding microphones that have the potential of giving your guitar sound the right character and color.
I will mention by name the three most popular microphones used to record guitar. Bear in mind, this will not mean these are the only microphones out there that can do the right job for you.
Shure SM57
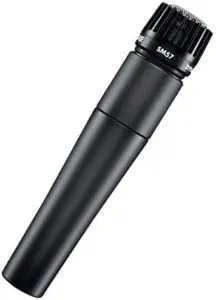
Labeled by Shure as “the world’s single most versatile microphone”, they are not wrong about that.
This microphone has been very popular since its release way back in 1965 and is used to record practically anything you can imagine. From guitar, bass, and drums to saxophones and vocals (most of Michael Jackson’s vocals in Thriller were recorded on an SM57) this microphone is probably the first one any recording musician should purchase.
This dynamic microphone has a frequency response of 40 to 15,000 HZ and it captures all the tones needed to get the best sound possible.
Because it is a dynamic microphone it is great to use in live situations as well, since it will not capture much more sound than the one it’s being pointed to. It is also extremely durable and can handle some bumps along the road.
There are no bad things that can be said about the SM57 and it is the most used microphone to record an amp, usually paired with another microphone that will add more color and character.
Sennheiser MD 421
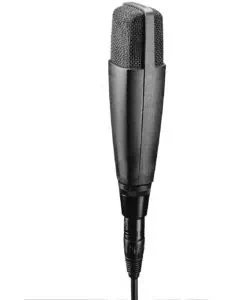
Another dynamic microphone praised for its great versatility, the Sennheiser MD 421 is one of the most popular microphones used for recording guitar and bass amps.
A difference between the 421 and the SM57 is that the 421 is a large-diaphragm microphone. This enables it to capture the low-end with more precision. In addition, the 421 has a five-position bass roll-off switch that allows you to control the amount of low-end you will capture.
Tone-wise, it is very transparent, and combining it with an SM57 has proved to be a very successful technique for recording a guitar amplifier for many years.
It has also been designed for heavy handling and is quite resistant to bumps, which is a plus in terms of durability. A great choice to record almost anything but especially guitar and bass.
Royer R-121
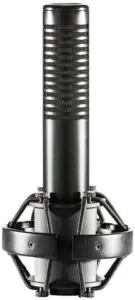
The Royer 121 is a ribbon microphone. We mentioned before that ribbon mics are very sensitive to sound and need to be treated carefully.
The great thing about the Royer 121 is that it can capture sound with a power of up to 135dB. This means you can crank your amplifier to get the best out of its tone without risking damage to the microphone.
Frequency wise, its response is very well balanced; the low end is very present without getting muddy, mids are very clear and the highs are quite sweet without getting too edgy or piercing.
It is also important to know that this mic has a figure-8 polar pattern (as all ribbon mics do). The great thing is that on the Royer 121, the backside is actually brighter, which makes it very useful when also recording acoustic guitars.
The Royer R-121 is the most popular ribbon mic used to record guitar amplifiers and even though it is a bit on the expensive side, there are many microphones out there with their prototype based on Royer R-121. For example, the Art AR5 is very similar to the Royer 121 and is a good low-budget choice.
3 Recording Techniques Used To Get Different Guitar Sounds
There are many creative ways you can mic up your amplifier and get all sorts of unique sounds. Here are 3 common ways of recording an amp to get you started:
Paired Microphone Technique

This is by far the most common way to mic an amp out of the three. The idea behind this technique is to put two dynamic microphones very close together and point them towards the speaker.
One of the most important things to consider when painting microphones is that you can experience phase issues. This means that if the microphones’ distance with the amp and with themselves is not accurate, the two sounds being captured can be canceled out, making your sound thin.
The best way to avoid this is to follow the 3:1 rule, which dictates you should place the mics three times farther apart from each other in relation to the amp’s distance.
The best way to do this is to place them right in front of the amp’s cloth, making the distance so small that you can put the two microphones close to each other and prevent any phase issues.
Using an SM57 and a 421 together is a great combo to try out this technique.
X/Y Stereo Recording

Stereo recording techniques are a great tool to give your guitar sound more depth and clarity in your music productions.
Stereo recordings are one of the most common techniques used for instruments such as guitar, piano, and drums (drum’s overheads, to be precise).
The way this works is by placing two dynamic or condenser microphones (if it’s a condenser, make sure the polar pattern is set to cardioid) at an angle between 90-135 degrees so that their capsules coincide at a single point.
Using two SM57s is a great way of exploring this technique.
Mid/Side Stereo Recording

Out of the three, this recording technique is the most interesting to experiment with. For this technique, you would need a dynamic microphone with a cardioid pattern and a condenser or ribbon mic with a Figure-8 pattern.
The figure-8 microphone is placed at a 90-degree angle from the amp, functioning as the “side” in the term “mid/side”. The cardioid microphone is placed in front of the amp and will function as “mid”.
Now the tricky part is, after recording in this way, you would use your DAW to duplicate the “side” recording and pan them both hard left and right. You would then reverse the phase of the duplicate to create a Mid/Side Stereo sound.
It sounds more complex than it is and the video will help you understand the process. This technique is great to give your guitar sound an interesting spin.
Using an SM57 and a Royer 121 works perfectly on this technique.
Mic vs Amp Simulator
It is no secret that audio software technology has dramatically evolved in the past decade. We have come up to a point where amp simulation software is not only a viable option but a preferred one by many music creators.
This is mainly because amp simulators give you much more versatility in finding the right sound for your guitar. It is also important to mention that building your library of sounds is much cheaper than getting an amp and all the pedals required to construct your own unique sound.
If you never tried amp simulator before and want to try them for free, check out my post 19 Best Free Standalone / VST Guitar Amp Simulators For PC, Mac
It is quite achievable to get modern, cool-sounding tones with an amp simulator.
However, nothing replaces the analog feel of the right amplifier with the right settings, the right chain of pedals, and the right microphone to create that one of a kind sound that will make your song become the best it can be.
I also have to mention that one of the main components of using microphones is the color and characteristics they bring to the table. A microphone’s job is not only to capture a sound but to transform it into something unique.
Conclusion
Micing a guitar amplifier is a great tool to capture all sorts of amazing sounds our guitar can create. It is a great tool to transform the ideas in our head into majestic guitar lines or great riffs that can potentially stand the test of time.
Understanding the importance of micing amplifiers and exploring all the different ways you can approach this task is crucial for anyone who wishes to dive deep into the world of music.
It is also important to know that every microphone out there has a different feel to it and that in itself is a vast world to explore. So check out these techniques I’ve shown you and see what works and what doesn’t.
There is no wrong answer, only different approaches. Have fun!
If you found this article useful, you may want to save this pin below to your Guitar board.

Recent Posts
When learning new songs have you noticed that some of the chord sequences sound really good? But when you tried to come up with your own chord sequence, or as we call it chord progression, you found...
Some guitarists insist on buying an expensive amplifier with their electric guitar. They assume that this is a must for every type of guitarist out there. However, in some situations, this isn’t...